- How to send a consultation form through the record card, please click here
- How to view client forms once completed, Please click here
- How to attach consultation forms to appointment reminders, please click here
- How to view consultation forms using the appointment dashboard, Please click here
Digital consultation forms will make you stand out from the crowd, meaning you can finally say goodbye to some of your paperwork.
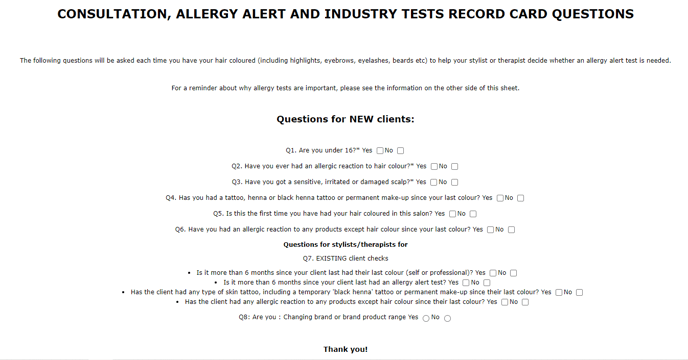
Consultation forms can be personalised to your salons needs from allergy testing to disclaimers, medical, technical and aesthetics notes.
They look great on a tablet and can be saved to the clients record card and/or printed.
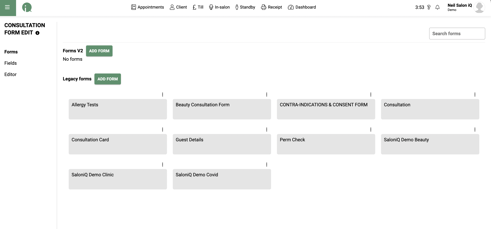
Go to Menu > Settings > Consultation form edit
There are two sections, Forms V2 and Legacy Forms:
- Forms V2 Our new and improved designs, making it easier to create consultation forms.
- Legacy Forms - How to create consultation forms,old version. Click here
To add a form in Forms V2
- Click on ADD FORM
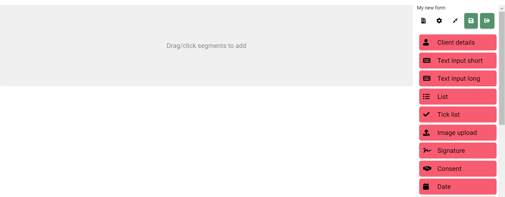
- On the right side of the page, you have all the functions to add to your consultation form.
 Previews your form
 Form settings
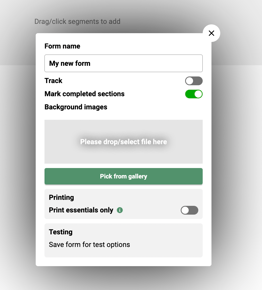
You can name your form, choose whether to track the form, mark sections once completed on the form, choose a background image to sit behind the text, Printing essential only prints text and not images to save ink.
-
 Expand the functions section. This is how i have it set so it is easier to see the names of each section.
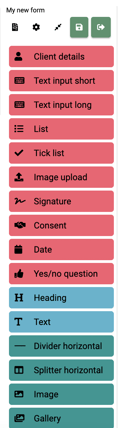
 Save the form
Please note, currently the forms do not auto save so make sure you regularly save the form to avoid accidental loss of changes!
-
 Exit the form
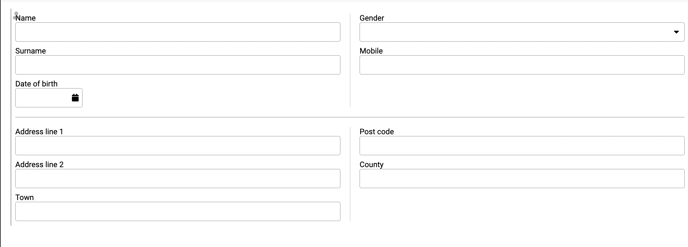
To add the client details capture functions. This adds the missing information entered into the clients record card too.
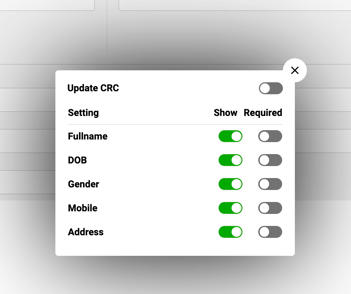
If you click anywhere on the the box once it's added you can set:
- Update CRC will Update client Record Card with the details entered. This will also show any details already on the record card so the client can check and amend them if needed.
- What sections to Show
- What sections are Required to be filled in
-
Here you can add a name or question of your choice and request a response. The Place holder is where you can guide the clients response. In the example i ask for their doctors name and the Placeholder clarifies that it's the main Dr they see to help with any confusion.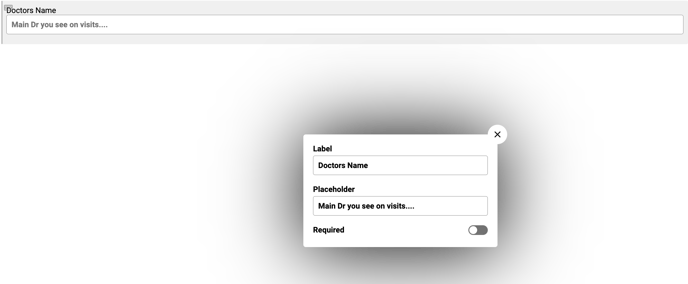
This is what i would use for client feedback. It allows for a large amount of data from the client.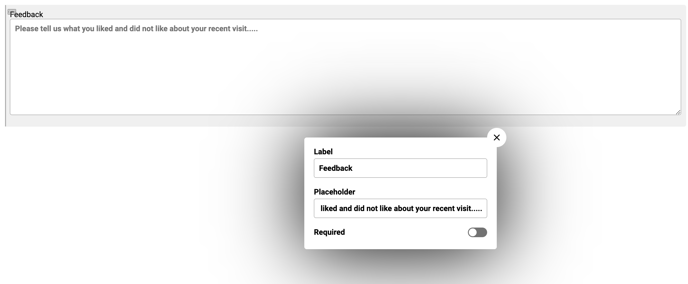

Here you can add a question and the client can choose one of the pre-set responses. This could be to find out the service/ treatment the client is having/ had.
The default value can pre-populate the box with one of your created responses.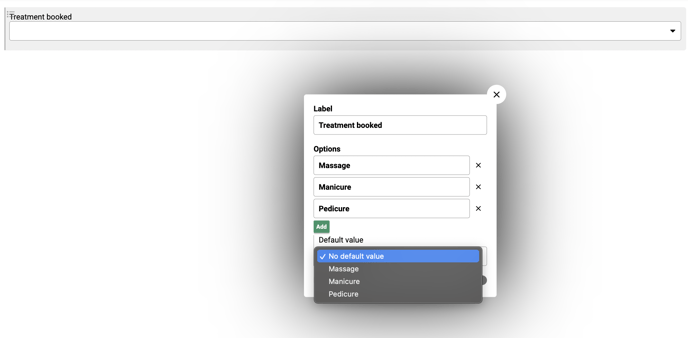

This is used for when the client can choose more than one of the answers.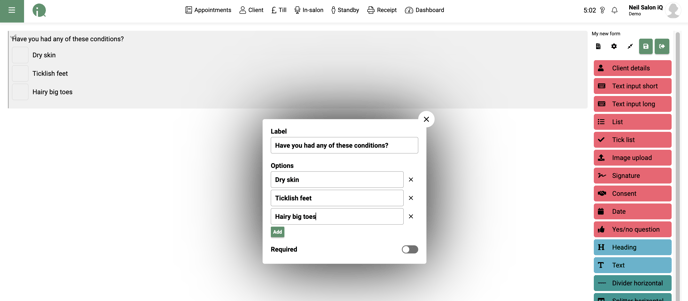

We can allow clients to upload images. Maybe of their hair, or the look they are hoping to have. We can state whether the image will be displayed horizontally rather than vertically.
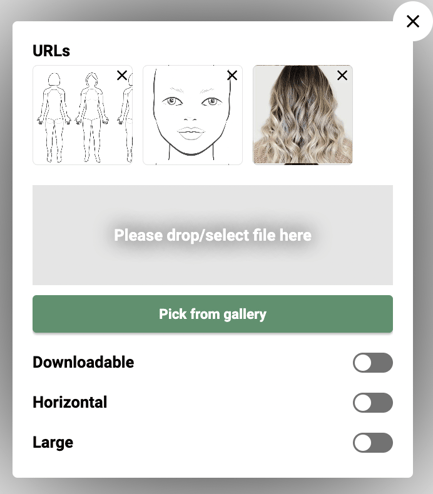
Large displays a larger version of the image.
Horizontal displays the images horizontally/ side by side as opposed to one under another.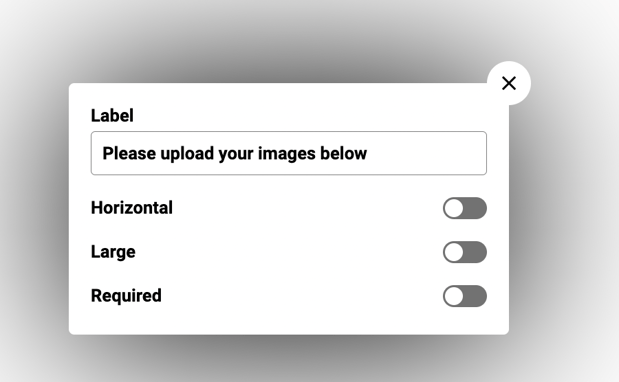

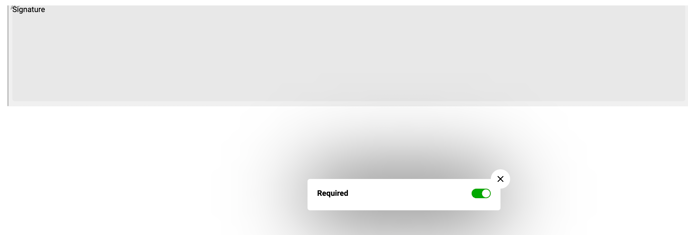
Make the client and/ or team member sign the form.

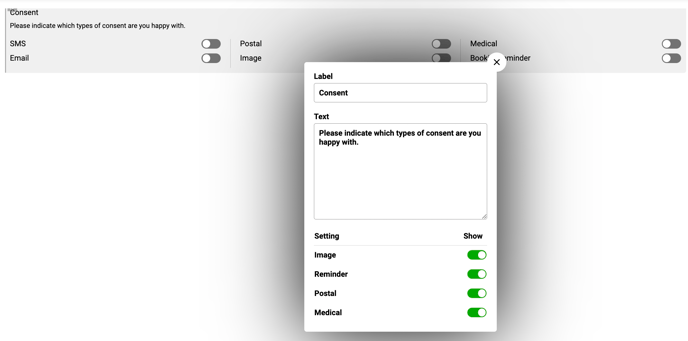
This allows the client Opt in or out of various sections of the system and this will update their record card too.

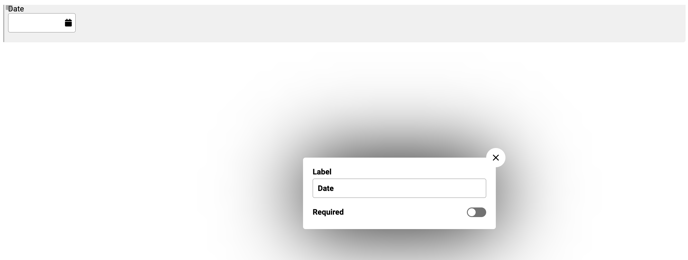
Allows the client to state a date. You can even rename the name 'Date' to be anything you want. Maybe, last time you had a sunbed, or when last year did the junior make you a nice cup of tea...

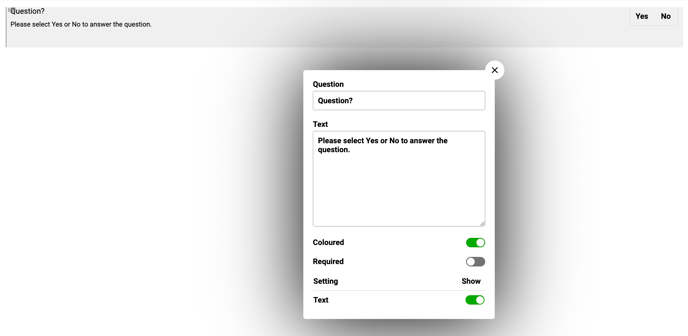
For a Yes/ no response.
Text - You can guide the client as to what they have to do or just elaborate so they know exactly what you are asking
Coloured - Highlights the response
Required - If a response is required
Text - Show or hide the Text box with the guidance message

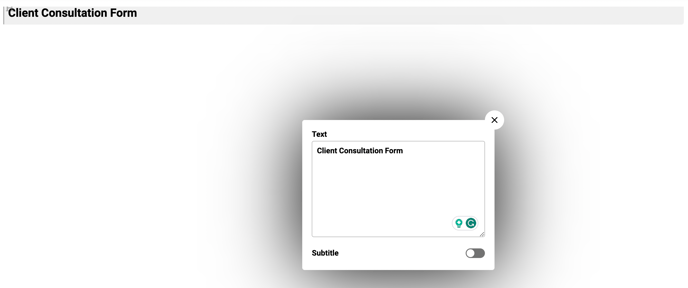
The Heading or title of the form. This can also be used to create sub headings by ticking the Subtitle toggle.

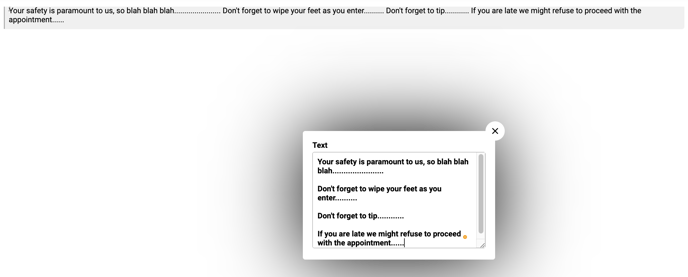
A text box to enter swathes of informative data.
Adds a divider line across the page to break up different sections of the form visually
Adds a divider so that you can display two sections alongside each other.
Below you can see left we have an image and a text box to the right.
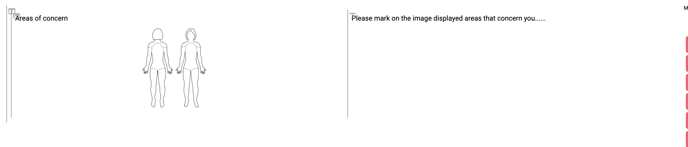
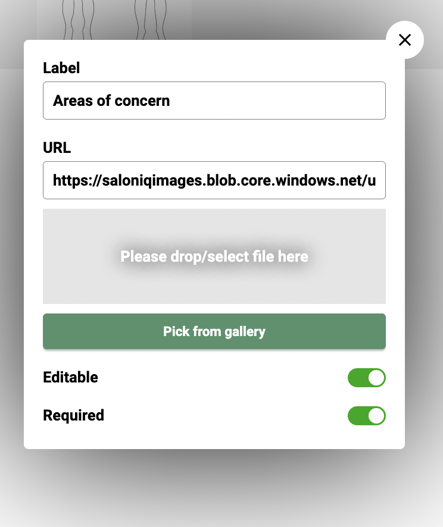
Allows for displaying an image in the form.

The image can be made editable and be set the image is required to be modified.
You can use the URL to state where an image of your choosing is hosted if you decide to not use one of the one in the supplied gallery.

Allows for Inserting multiple images.
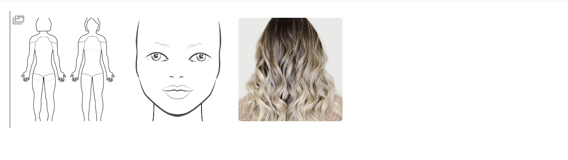
You can allow each individual image can be clicked on and it will open in a new tab for the user to download it.
- All sections can be either clicked on to add to the end of the form or drag and dropped. Then you can re-position by moving your mouse over the left hand side of the section until a grey vertical line is displayed then you can select the line and drag the box to your desired location.
Please make sure you save the form before changing screens on SalonIQ. Forms will not automatically be saved.
To add Legacy Forms
- Click on ADD FORM
- Click Fields ADD FIELD
- Text input is a small text box. We would commonly use this for client's name.
- Multiline is a larger text box. We would commonly use this field for if we required a list of information from the client.
- Checkbox is a multiple choice answer selection. We would commonly use this field for 'Please tick all sections which apply to you'.
- Radio button. This is commonly used if the answer is either 'Yes' or 'No'.
- Date picker. This is used when the form requires a date entry
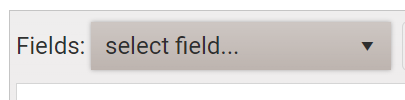
- To enter the fields you have created click on the header below.
If a field is required, toggle the mandatory field to the green position. This will ensure that the client cannot overlook or skip that specific question
- To add the fields you have created click on the drop down menu shown below.
Click the save option in the top left hand side ![]()
Once you have created your fields and entered them into the form editor you can use the tools above to align - highlight or add words in bold
How to send the consultation form through a record card?
Go onto a Clients record card > click on Forms > select the form you would like the client to fill in > click Send
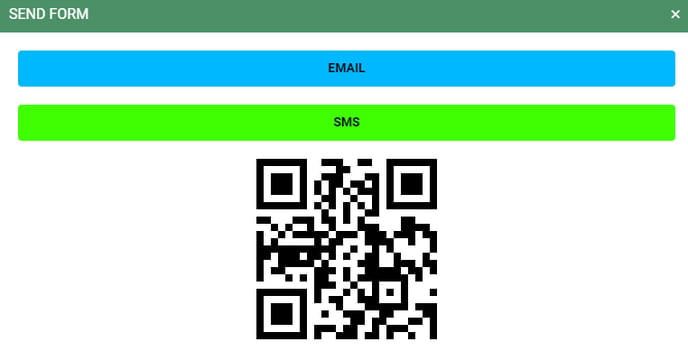
- Email - You can email the form directly to the client
- SMS - You can SMS the form directly to a client
- QR Code - On the clients device - ask them to load their camera - hover over
the QR code - the form will then load
Once the client has completed the form, you will see this in their record card under forms.
Client Record - Forms

Completed Unverified - This means the client has completed their form and this will appear in blue on their record card.
How to Verify a Form - You would verify the form to confirm you are happy with the details that the client has completed and you agree or disagree to go ahead with the service. To do this click on the completed form and click on verify at the bottom of the page.
You can then write in any notes and sign the form to say its been verified.


The form will then change to green on the clients record card.

Draft Forms - When a client has not fully completed their form and saved as a draft you will see this on their record card. A draft form will appear in grey.

If the client has a draft form, this form will need to be completed. When clicking on the dropdown box and pressing add you will see the pre filled out form. This can be emailed back over to the client by pressing send email.
You can click on a completed form to add your own notes
How to attach consultation forms to appointment reminders
Menu > Intelligent Marketing > Automation > Appointment Reminders > Open Email Reminder
Click on add form and select the form or forms you wish to attach to this email
How to view consultation forms using the Appointment Dashboard
Click in the clock in the top right hand side of the appointment page > click Consultation form
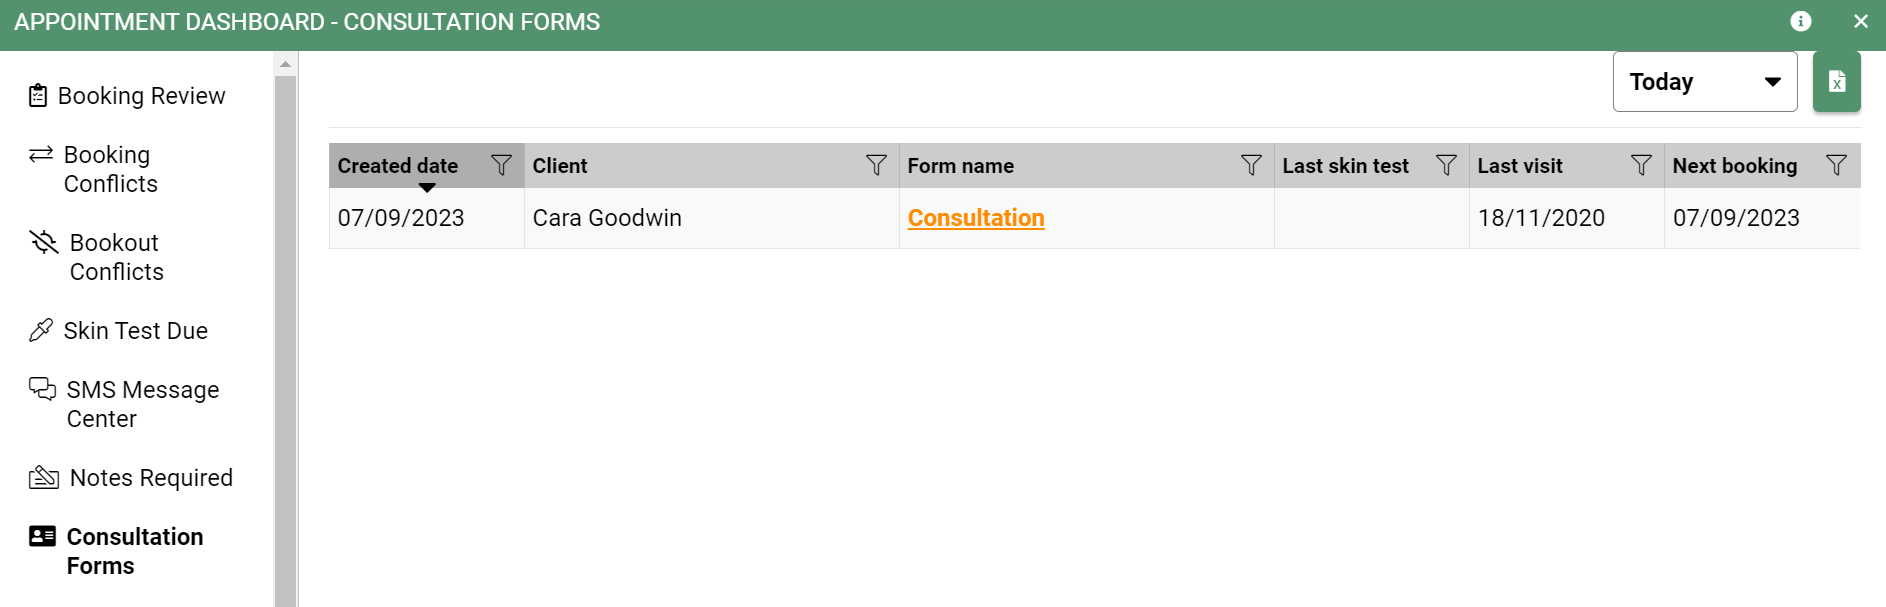
You can then filter by today, last 3 days or last 7 days
This will then show you a list of clients who have completed their consultation form
Click on the form name, you can then mark as verified once you have read through the form
- How to send a consultation form through the record card, please click here
- How to view clients forms once completed, Please click here
- How to attach consultation forms to appointment reminders, please click here
- How to view consultation forms using the Appointment Dashboard, Please click here
If you have any questions regarding the consultation forms, please email help@saloniq.com or call 01892 280123 we'd be happy to help you.