The first step in creating a quote is to go to your appointment page & create a new booking.
- Select a free time in your diary, select add appointment > search and select your chosen client
- Add all services the client would like a quote for, just as you would if you were making an appointment
- When you have added all services select the save button in the bottom right corner
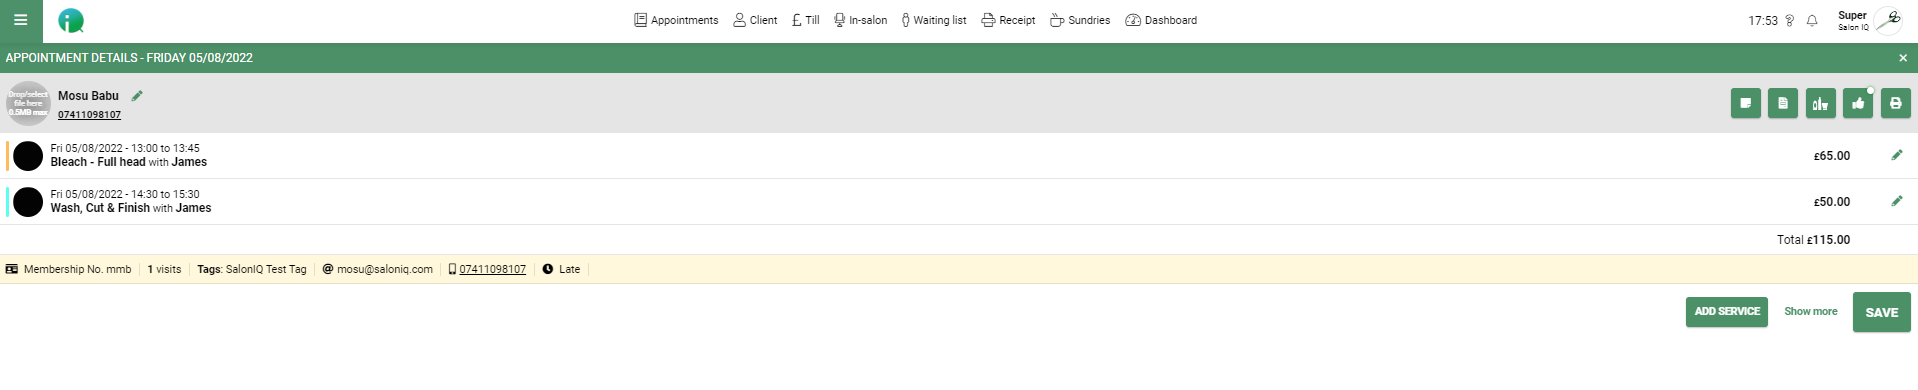
There will now be a temporary appointment in the diary.
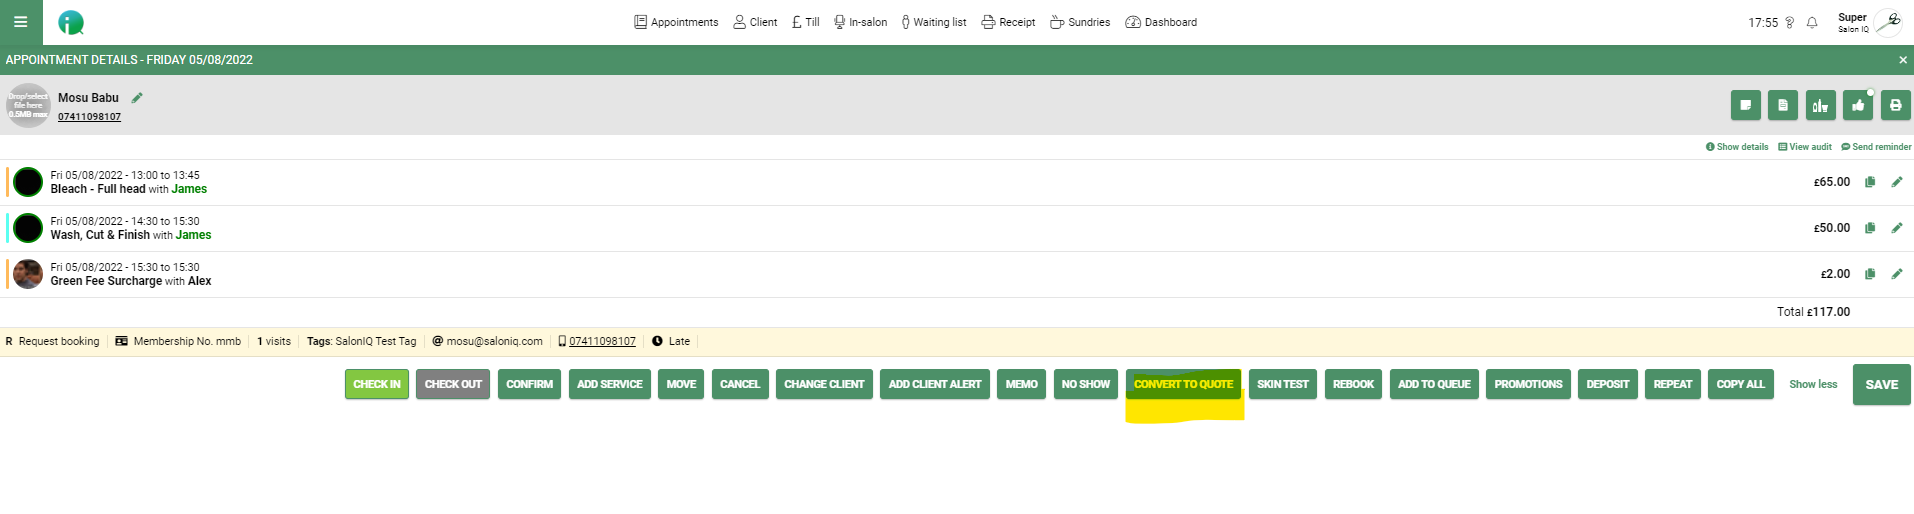
- Open up the quote booking by selecting the first service. This will re-open the appointment details screen.
- If you are happy with the booking details, select Show more > Convert to Quote button
You will now have your quote on-screen. Here you can view:
- Service details
- Start & end times for each service
- Team member name(s)
- Price (if the promotion has been applied)
- Original price (pre-discount)
- Total price
You will also be able to add:
- Quote expiry date - the default settings will be 30 days
- Notes - here is where you can add any additional quotation notes
The last option is a Delete existing booking toggle, this will be pre-set to on (green background) this will ensure that once you finalise your quote the temporary appointment that you made at the start will be removed from your diary. If you wish to keep the client's quoted appointment in the diary then switch the toggle to off (red background).
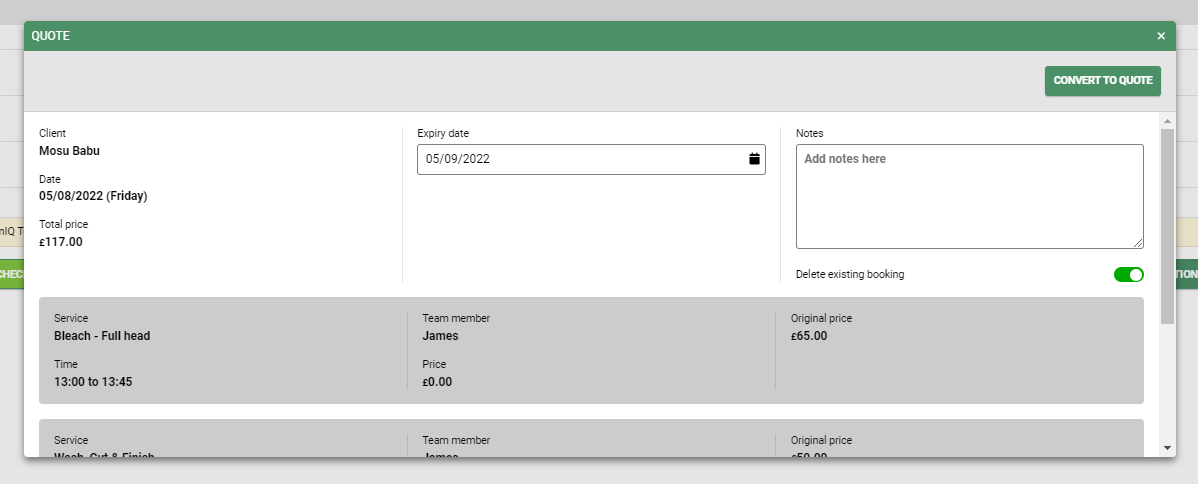
You can now select Convert to Quote in the top right corner.
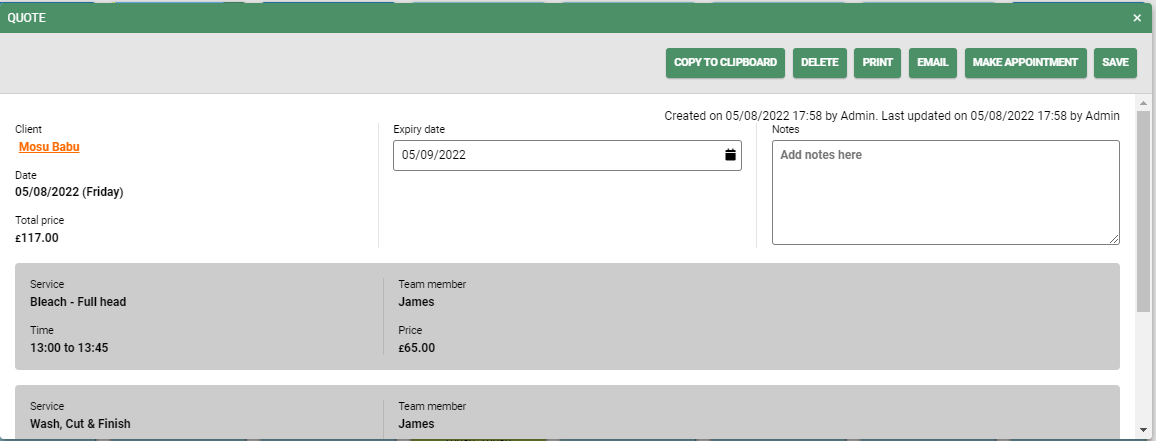
You will now have a copy of your quote pop up on the screen. You will see various tabs on this window allowing you to:
- Copy to clipboard - this will put all services in this quote into the clipboard ready to then select the date and make this quote into a booking
- Delete - deletes the quote
- Print - prints the quote for you to give the client
- Email - emails the quote to the client
- Make an appointment - makes the appointment with the day, time and team member selected
- Save - saves the quote to the client record card
Don't forget - Your client's quote will remain in their record card until the client confirms they wish to proceed.
To view a completed quote in a client's record card in the Hub select Menu > Client Search and find your client.
action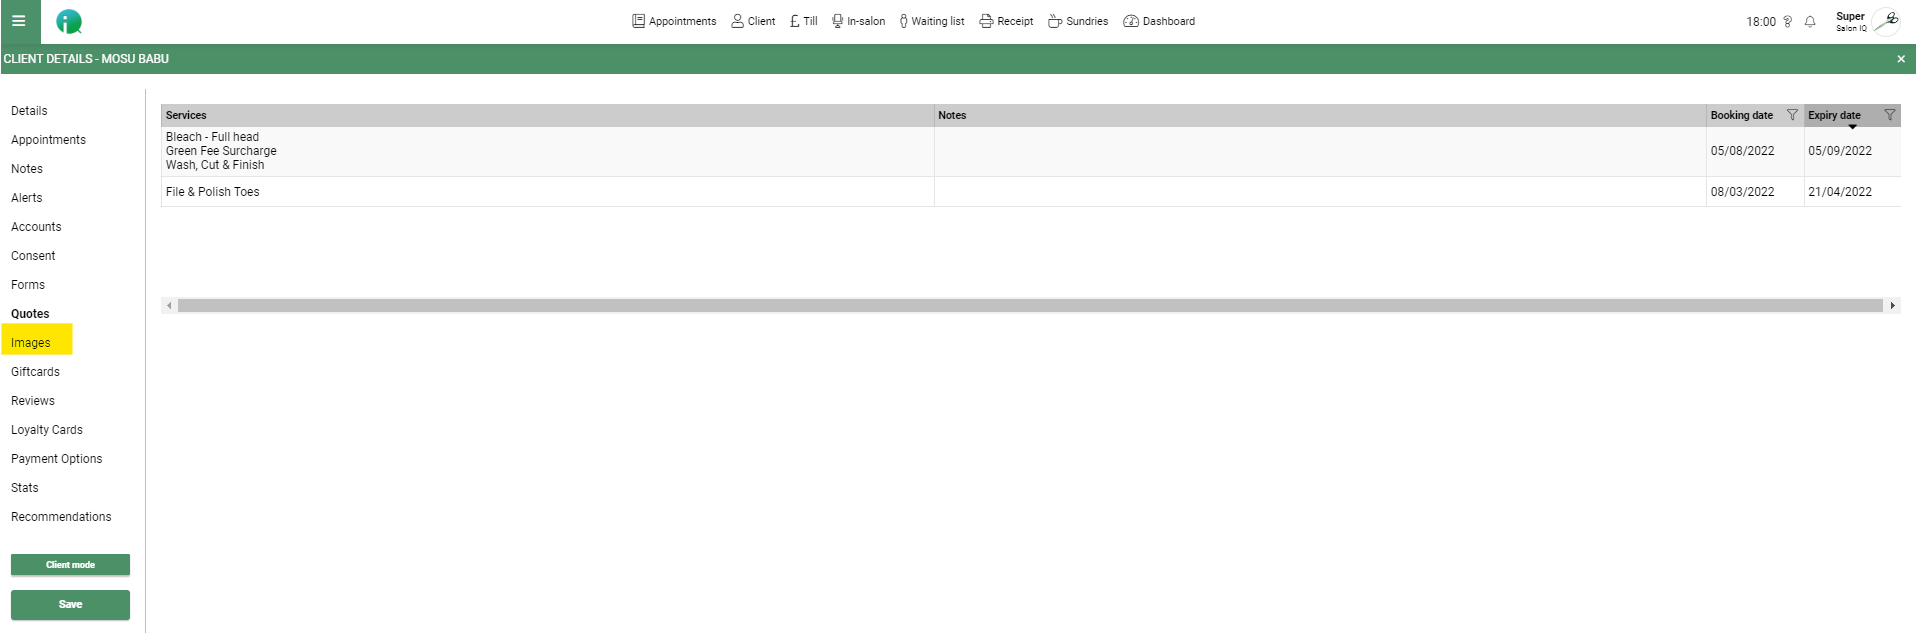
If the client is now ready to book their appointment, select the quote you require and use Copy to Clipboard to search for the correct day and time the client needs or the Make Appointment button to proceed to book the appointment for the original date and time selected when the quote was created.
Tip - You can create & save multiple quotes in a client's record card.