Add images within your emails can make them really stand out, and can even increase the conversion on bookings, retail purchases or any action you are advertising within your email.
On IQ Hub go to Menu > Settings > Global Settings > Emails
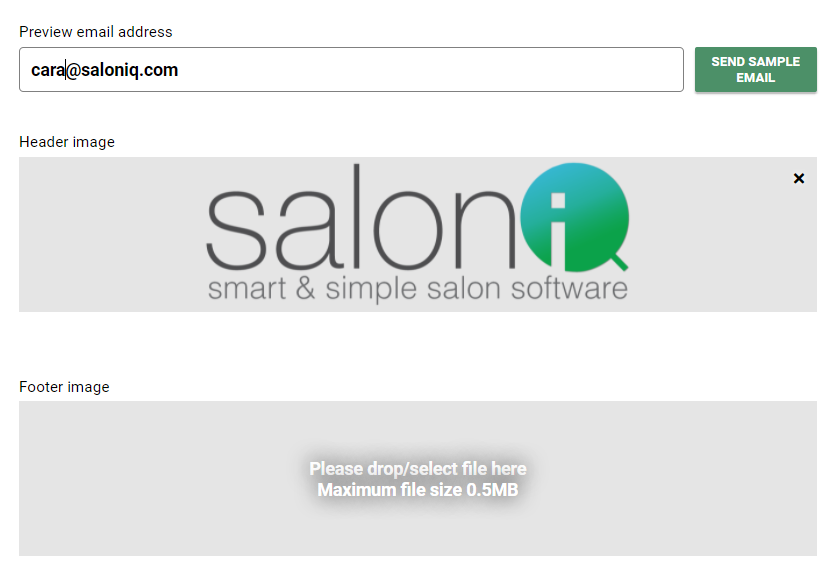
- Preview Email - Enter in the email address you would to receive all your preview emails to
- Send Sample Email - Once all changes have been made you can send yourself a test email.
It is great to send a test to yourself first to ensure you are happy with the formatting.
- Header Image - Browse and upload your logo. These should be set as 220 pixels width
- Footer Image - Browse and upload your logo. These should be set as 220 pixels width
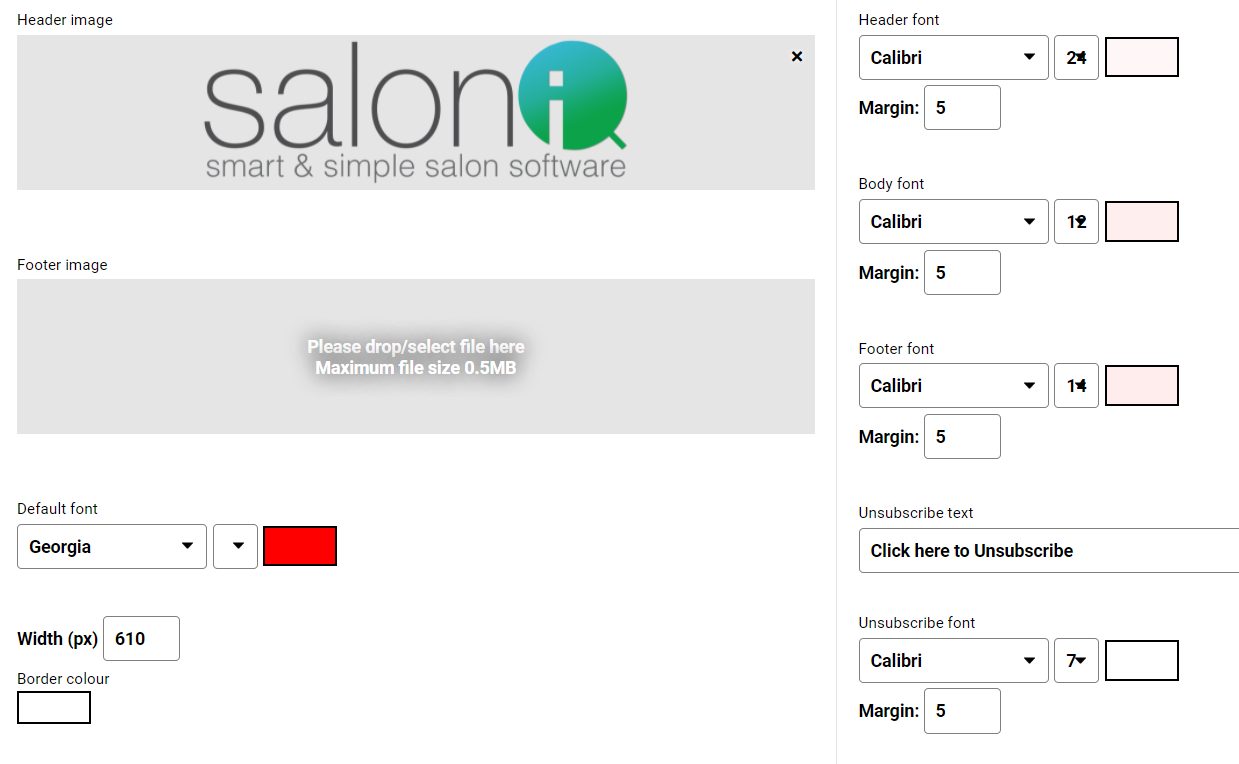
- Default Font - Click to change the email fonts. You can also change the font size and colour of your text
- Width - Choose the width of your email - 610 is recommended in here
- Border Colour - Click on the white box - You can choose a colour or if you have a HEX code enter it here
- Header Font - Change the font of your header and colour
- Body Font - Change the font of your body and colour
- Footer Font - Change the font of your footer and colour
- Unsubscribe Box - All clients need an option to unsubscribe to emails. Enter your text you can use 'Click here to unsubscribe' or just 'Unsubscribe'
- Unsubscribe Font - Choose a colour and font for unsubscribe
Please remember to click Save after any changes you makes
If you have any questions regarding images whiten your emails please email help@saloniq.com or call 01892 280123 opt.1